|
Next up is the
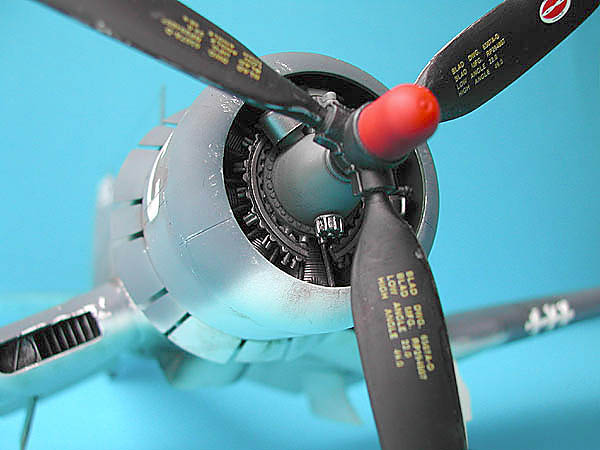
TRUMPETER 1:32 F4U-ID from Lukasz Kedzierski – Born
in Poland, but I have been living in Melbourne for the last 11 years. I
am a molecular biologist with PhD working on tropical diseases. However
history, especially WW2 aviation history, was always one of my interests.
I have been making models for more than 17 years now and I build mostly
1:72 modern aircraft and 1:48 WW1 (that’s a recent thing) and WW2 planes.
I have particular interest in Polish AF, Russian AF and esoteric subjects
used by smaller air forces. The Corsair is one of my “pet” aircraft, but
I can honestly say that 1:32 scale is definitely not my scale. Way too
big!
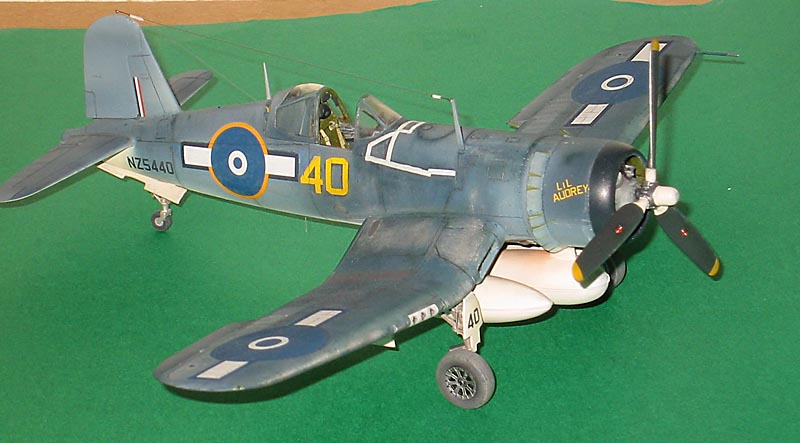
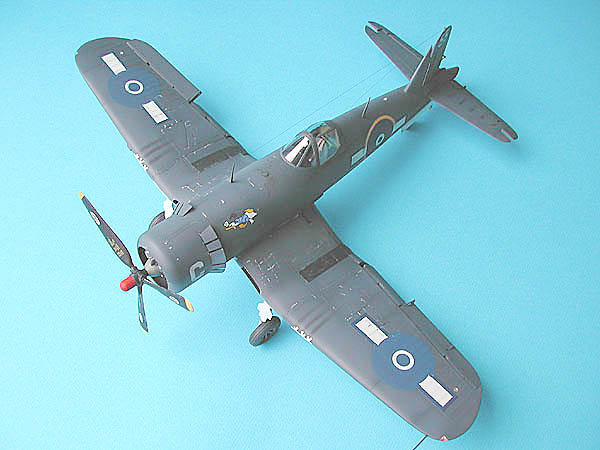
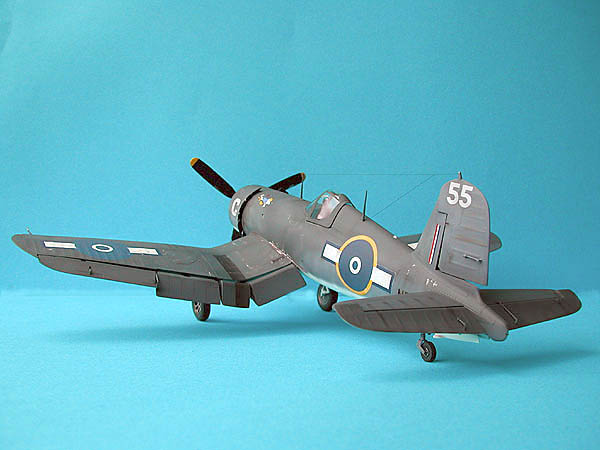
My Kiwi
Corsair was built as a result of a recent trip to New Zealand and an inspiration
I got from attending the Warbirds over Wanaka 2004 airshow. Since I already
have several kits in 1:48 scale I decided to go for something bigger and
more unusual (at least for me). My choice was the new Trumpeter F4U-1D
in 1:32 scale. Quick internet search revealed that I faced rather limited
choice of RNZAF decals in this scale. The only decals sheets I could find
were Ventura Decals set for F4U-1D NZ5255 Corsair and RooDecal sheet containing
generic F4U-1A/D markings. Fortunately for me both of them were available
at Snowy Mountain Models in Melbourne and quickly made their way to my
desk.
The kit itself is quite
impressive when it comes to number of parts and a level of detail. The
first positive impression is spoiled upon closer examination, which reveals
several ejector pin marks present in tricky places such as a wingfold,
wheel wells, pilot’s seat etc. Some of them are hard to deal with, whereas
some of the others are invisible later on. One way or another I did not
like them and tried to remove most of what I could. I decided to build
my Corsair OOB and the only addition was the seat harness made from aluminium
foil with buckles done from photoetched parts from a spare box.
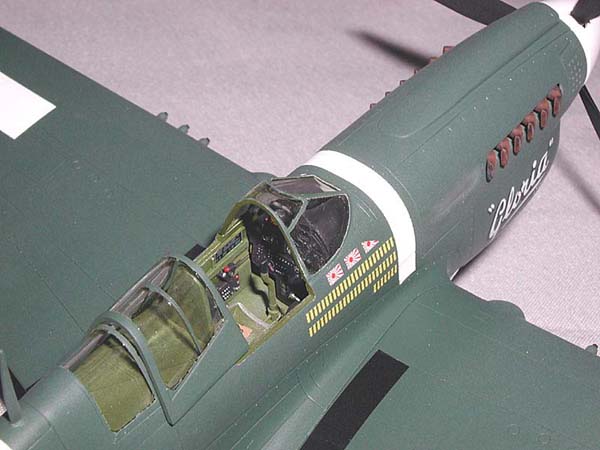
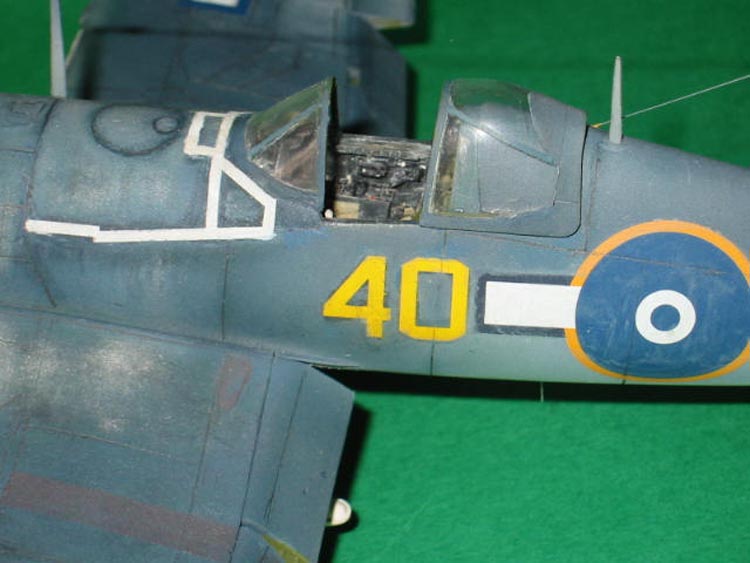
The cockpit
is pretty well detailed and looks great when assembled and painted. I decided
to include the cockpit floor as well, although it was not present on F4U-1As
or –1Ds. However, its inclusion makes life easier since all the cockpit
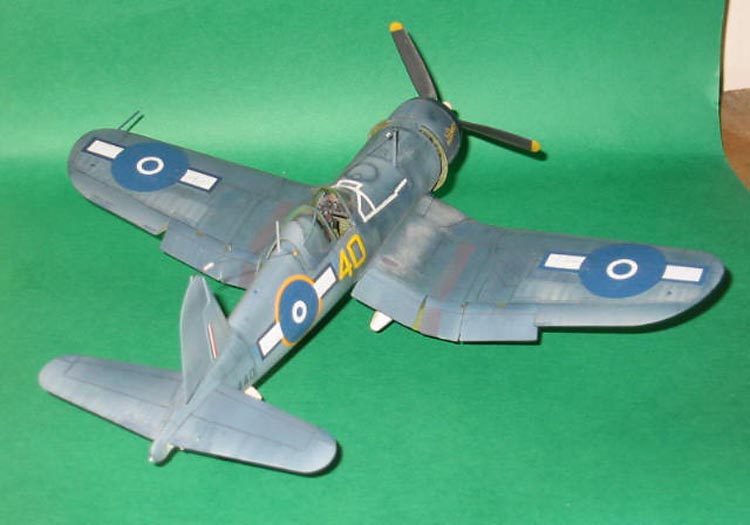
components are supported by the floor. The arrestor hook was removed from
the tail wheel since RNZAF Corsairs did not have them.
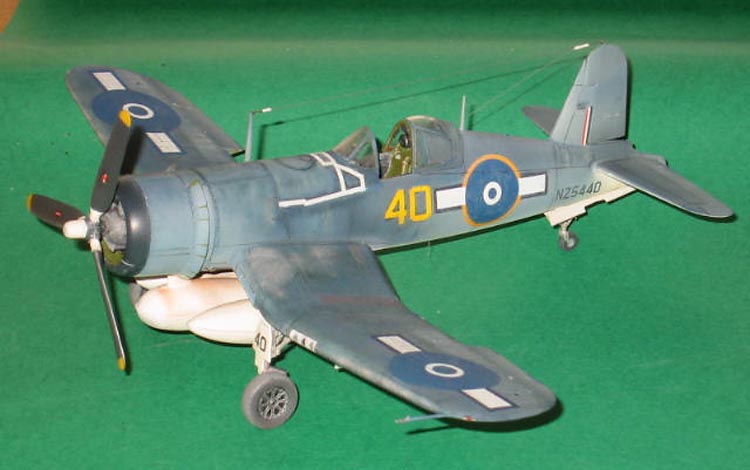
The construction
was pretty straightforward until I reached the wing centre section. The
fit in this area is very poor – wheel wells, intakes in the wing root or
the wing-fuselage joint all required some putty and sanding unlike the
rest of the kit. I decided not to open the gun bays and leave the wings
in extended position. The latter obviously required gluing the outer wing
sections to the centre section, and surprise, surprise the fit here was
very poor again. The kit was backdated to the F4U-1A standard by filling
in all the openings for underwing stores and adding canopy frames, which
were simply painted on. I would also like to point out that the undercarriage
is very flimsy for the kit this size and the finished model is rather wobbly

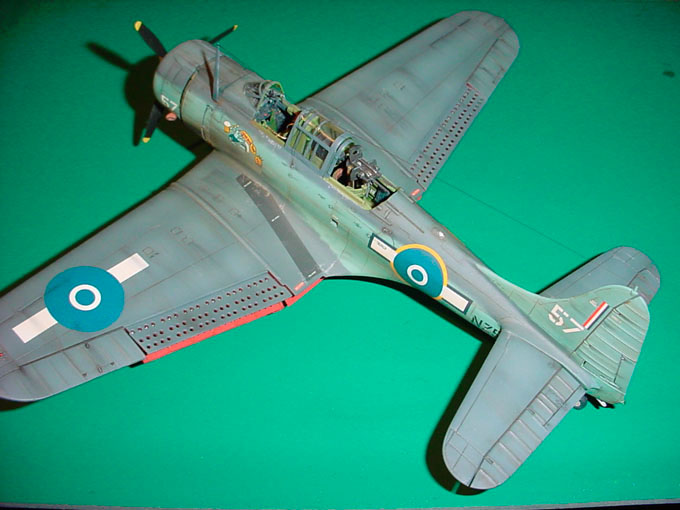
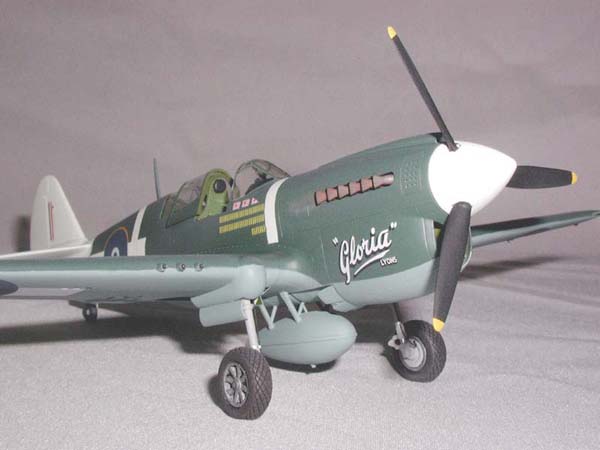
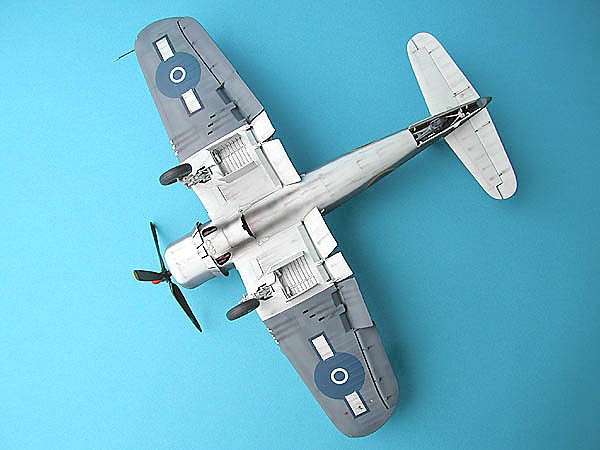
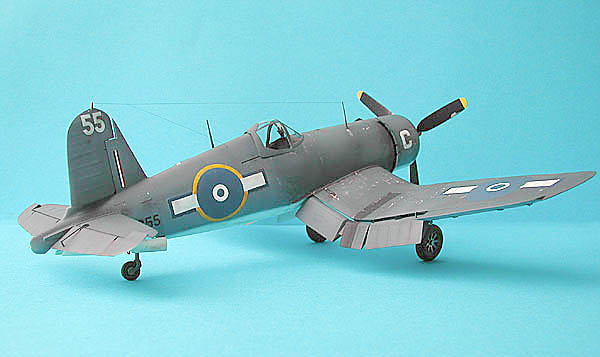
Photographic
evidence and my references indicated that the aircraft I wanted to model
had very faded and matt camouflage colours, some oil staining, but nevertheless
was well maintained. I started with pre-shading using Tamiya acrylic black,
which was followed by Tamiya acrylic white on the undersurfaces. For the
upper colours I used Humbrol 144 as Intermediate Blue and Aeromaster acrylic
Dark Sea Blue. Both colours where lightened with white and their application
was then followed by an extensive post-shading with lightened and darkened
shades of the base colours, which were applied with Aztek 470 airbrush.
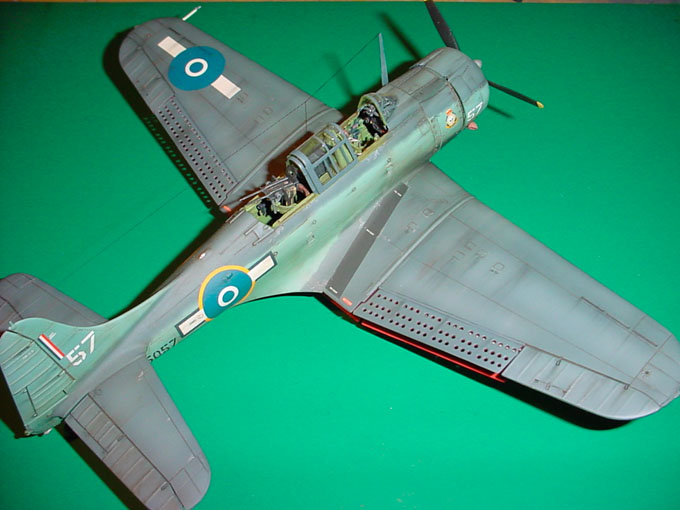
Weathering
was done using dry pastels, oil washes and paint chipping was simulated
with Testors chrome silver. Finished paint job was sealed with a coat of
Future in preparation for decals.
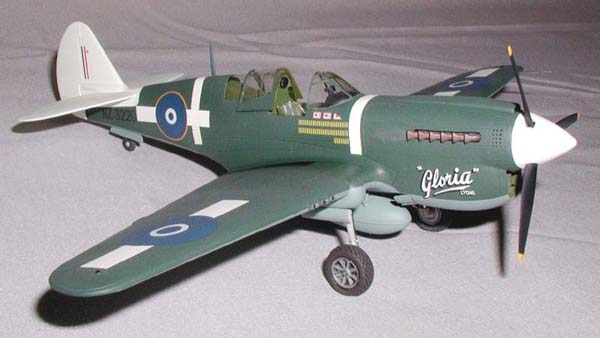
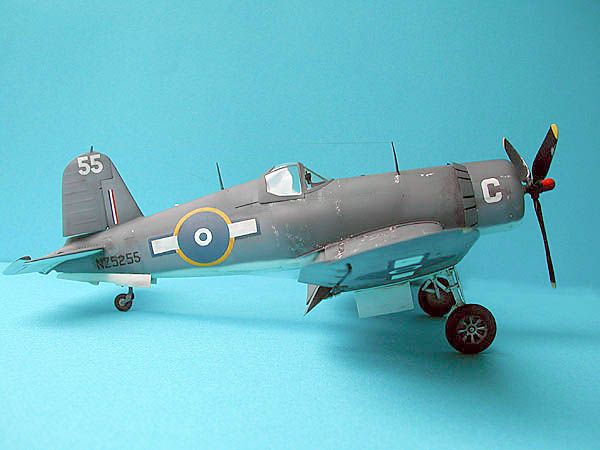
I used
the RNZAF roundels from the RooDecals sheet since they feature a correct
blue colour and all the other markings specific for NZ5255 came from the
Ventura Decals sheet. Both sets proved to be troublesome. RooDecal roundels
reacted erratically to the Set and Sol solutions. Some settled nicely,
while others got all wrinkled and I had to sand them smooth and repaint.
On the other hand, the Ventura Decals markings had very poor colour density
and an adhesive, which was hard to remove and was causing some silvering,
especially around serial numbers.
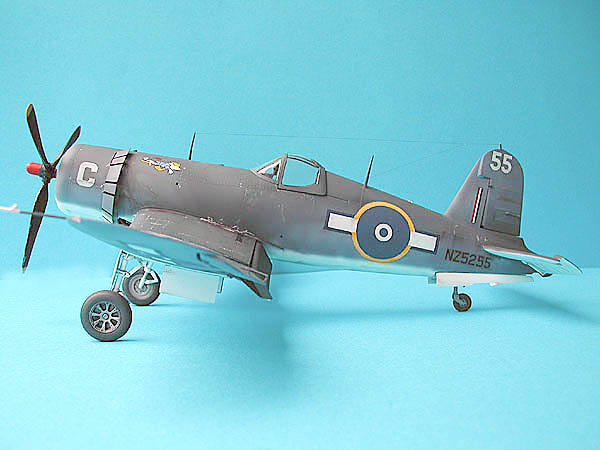
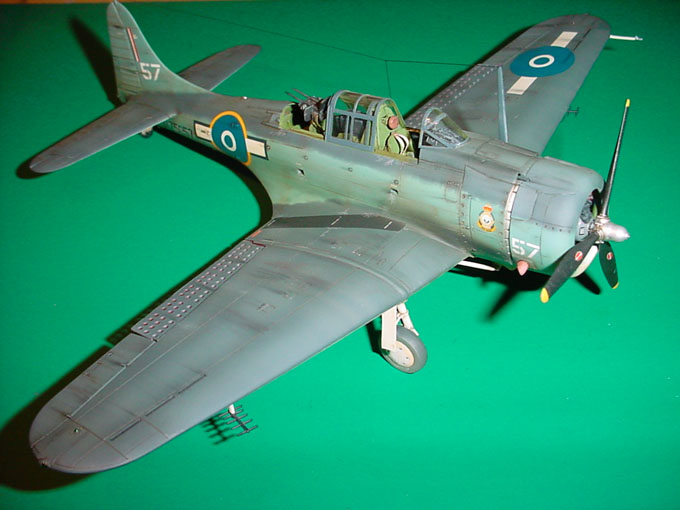
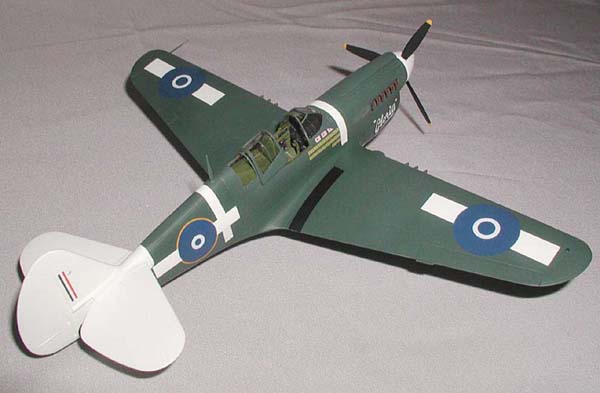
And here we go, my first
Kiwi aircraft – big, mean and beautiful. I really enjoyed this project
and I am really happy with the final result. The new Trumpeter kit is definitely
up to today’s standards despite some fit problems and I only wish that
there was a better choice of RNZAF decals in 1:32 scale.
Last but not least, I would
like to thank the following people with their help in my research into
the RNZAF Corsair: Peter Mossong, Peter Hobbins and Dan Farnham
|